MGID integration in CPV Lab Pro
Who is MGID?
MGID (opens new window) is a global innovative pioneer in native advertising that drives revenue growth for all participants of the ecosystem.
Since its foundation in 2008, MGID has become a leading content recommendation platform, targeting 850 million unique readers with 185 billion recommendations monthly.
The MGID platform helps publishers retain and monetize audiences, while driving performance and awareness for brands by connecting them to unique audiences, at the right time, with the right content.
- If you don't have a MGID account yet, then you need to register here (opens new window)!
- For CPV Lab Pro users, they have a special discount!
- Get 25 % top up bonus on your first deposit from 1000$ to 5000$.
- All you have to do is sign up and contact your manager from here (opens new window) to get a guaranteed bonus.
Step 1: Setup MGID in CPV Lab
- CPV Lab Pro comes with the MGID Traffic Source pre-configured in the Traffic Sources Catalog pages, so in this case all you have to do is import it from the Catalog.
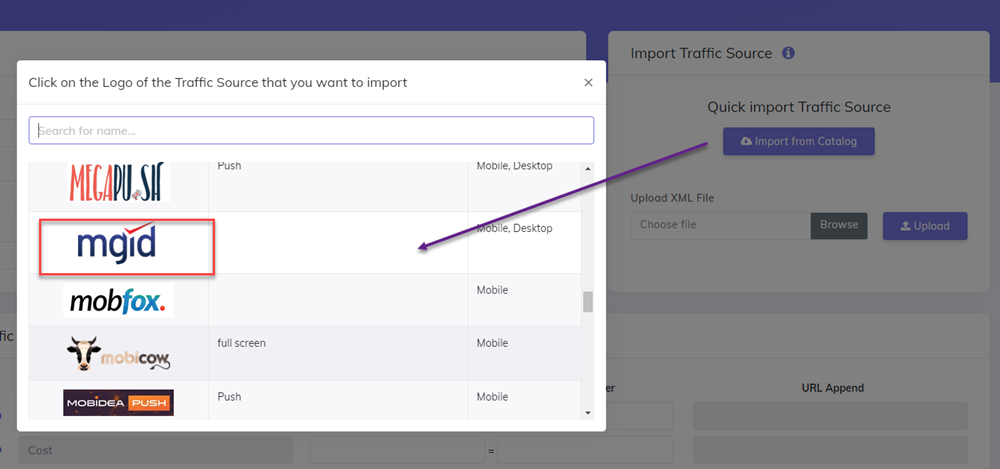
- The detailed configuration for the MGID Traffic Source is the following:
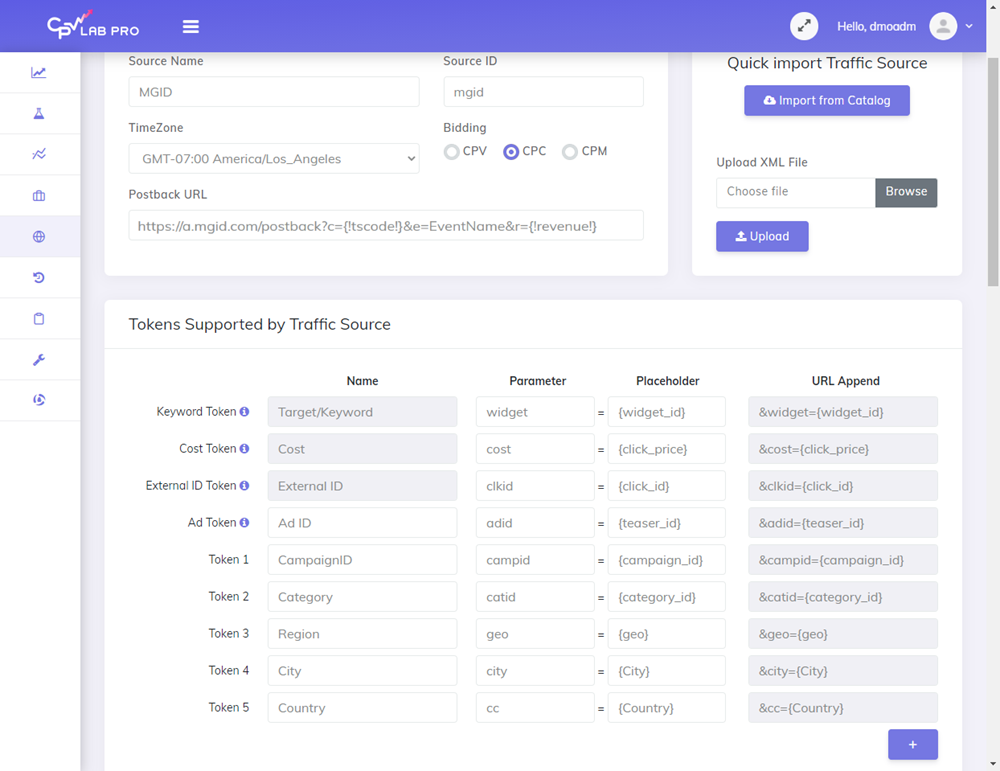
- Once you import the traffic source from the catalog, it will show up on the Campaign setup page.
Step 2: Create a Campaign in CPV Lab Pro
- In your CPV Lab Pro campaign setup page select MGID as the Traffic Source and choose the Predefined Extra Tokens that you want to capture.
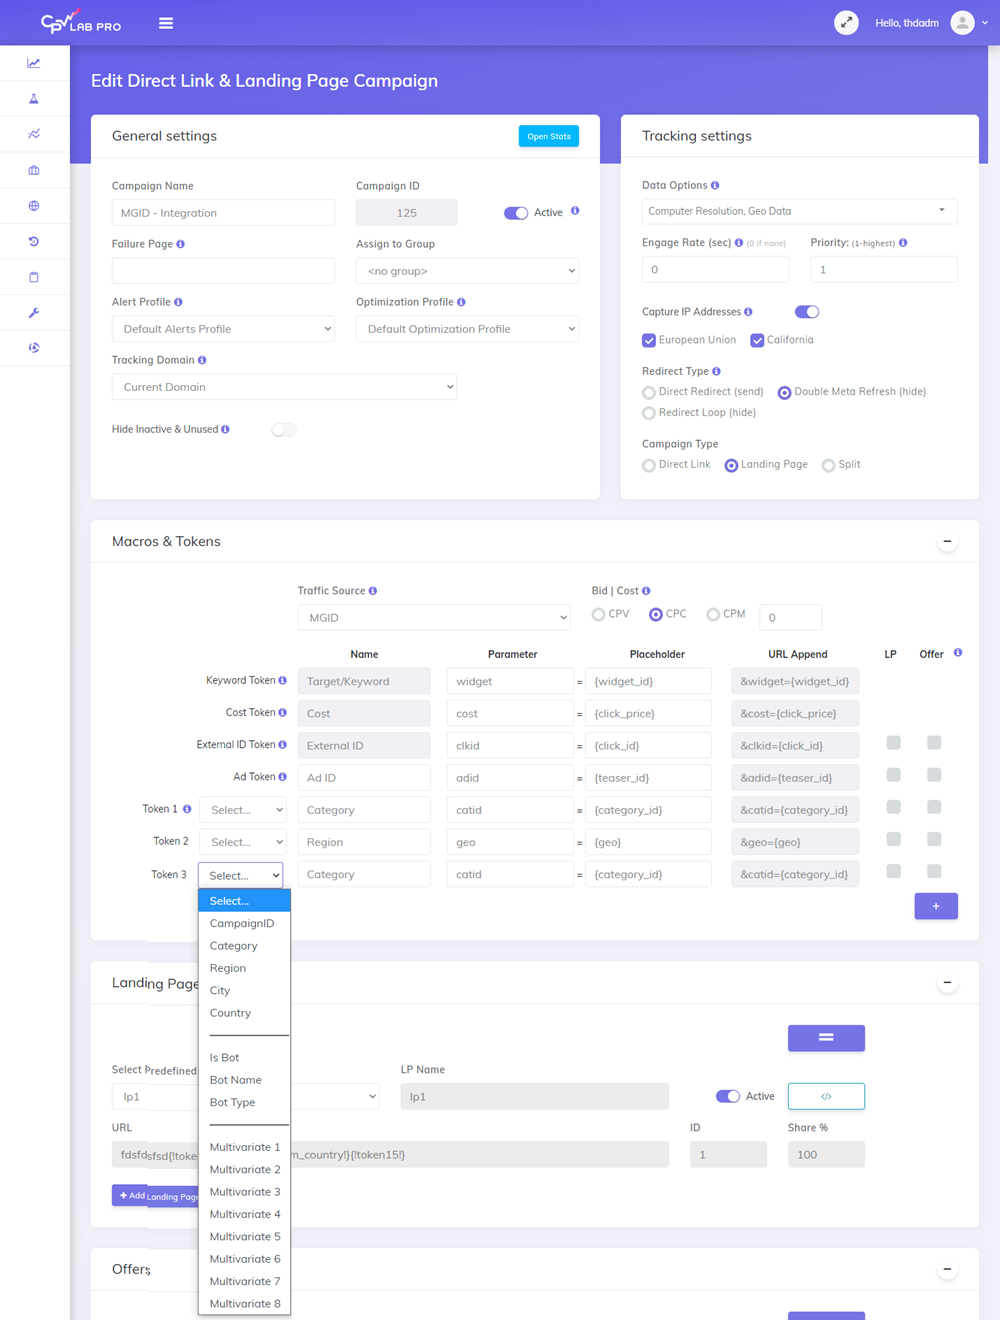
- Complete the other fields
- Save the campaign
Step 3 (optional): Setup the Postback URL
- In order to track conversions into the MGID platform, you need to setup the Postback URL from MGID as the Traffic Source Postback URL in the Campaign setup page from CPV Lab Pro.
- The Postback URL should contain the CPV Lab Pro macro
{!tscode!}(for Unique Click ID). - The Traffic Source Postback URL will be automatically filled for the selected Traffic Source in the Campaign Setup page, but you need to select/check it order to have it used (check image below).
![]()
- If the Postback URL is not available (it was not setup or was deleted for this Traffic Source) then you can enter the following Postback URL as Traffic Source Postback URL in the Campaign Setup page from CPV Lab Pro:
https://a.mgid.com/postback?c={!tscode!}&e=EventName&r={!revenue!}
TIP
The EventName is a code you will get from your MGID account, different for each type of event (interest, desire, buy).
Check Step 4 below to see how the EventName parameter is automatically added to the postback URL.
Depending on what Event you want to send back information to MGID about, you will setup in CPV Lab the EventName parameter as it is provided by MGID.
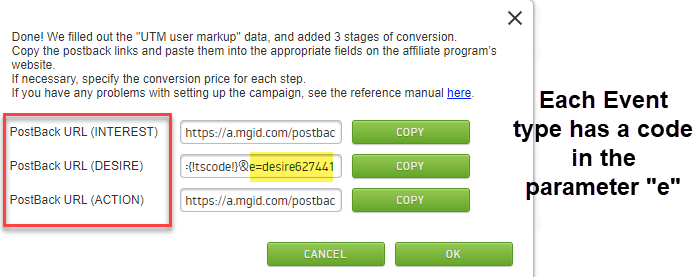
- You can copy the Postback URL directly from your MGID account (check step 4 below) and paste it in the Campaign Setup page, Tracking Pixel Section.

Step 4: Create the campaign in MGID
Login to your MGID account
Create a new campaign
Follow the steps from the Tour and complete all the necessary fields until you get to Step 12.
In the MGID Tab, select the template for CPV Lab Pro and click Save.
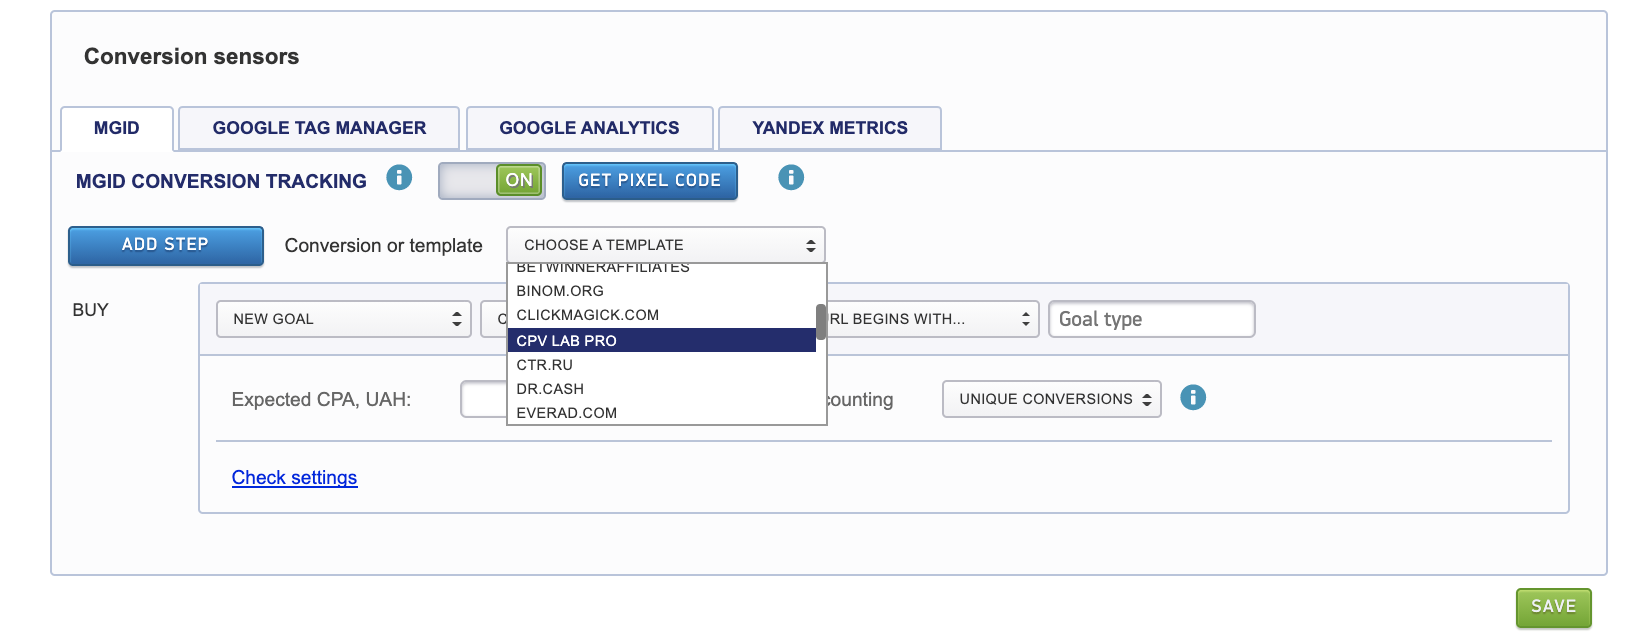
- You will notice that also the UTM tracking was automatically added (with the parameter name for "External ID" as it is setup in step 2 above)
![]()
- Finish the campaign by clicking Save
Step 5: Place the Campaign URL and start the campaign in MGID
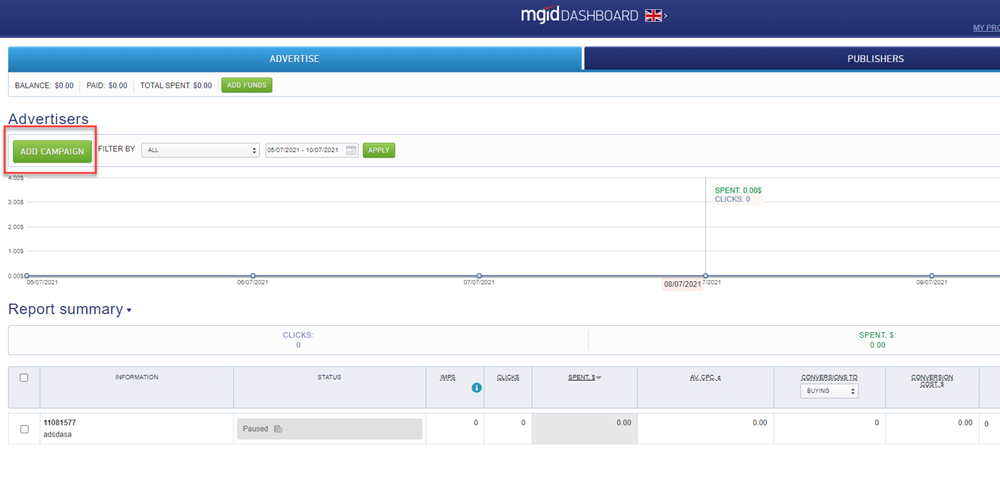
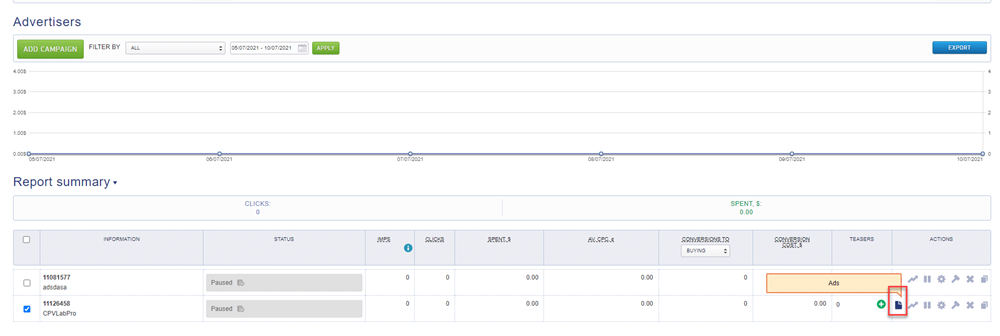
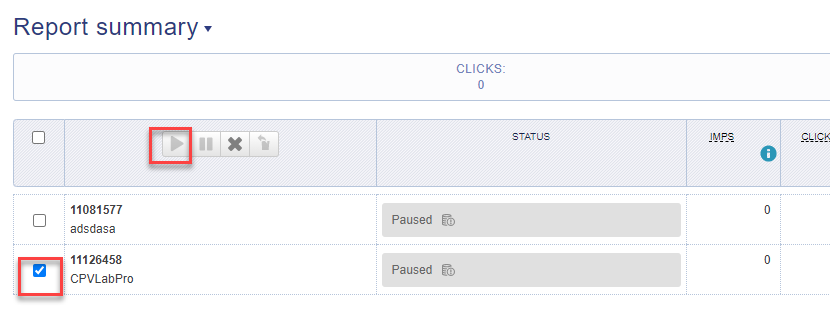
- By defualt, after it is created, the campaign is Paused. Click on the "Ads" button from the dashboard.
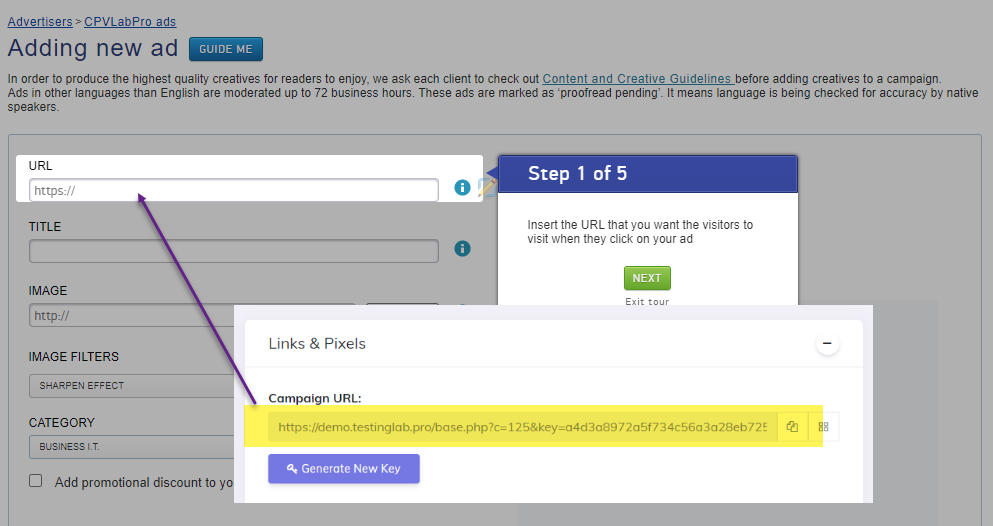
- In the URL field for your Ad put the Campaign URL as it is provided in CPV Lab Pro.
- The Campaign URL (provided in the Links & Pixels section from your Campaign Setup page) has all the parameters you selected as Macros
- Setup all the other properties for your ad in MGID and save it!
- Add the other Ads for your campaign
- From your Dashboard, Start the campaign.
That's it!