Taboola integration in CPV Lab Pro
Who is Taboola?
Taboola (opens new window) is an advertising company providing quality traffic on your website. It is especially known for the "you may also like" ads showing on different websites.
Step 1: Setup Taboola in CPV Lab Pro
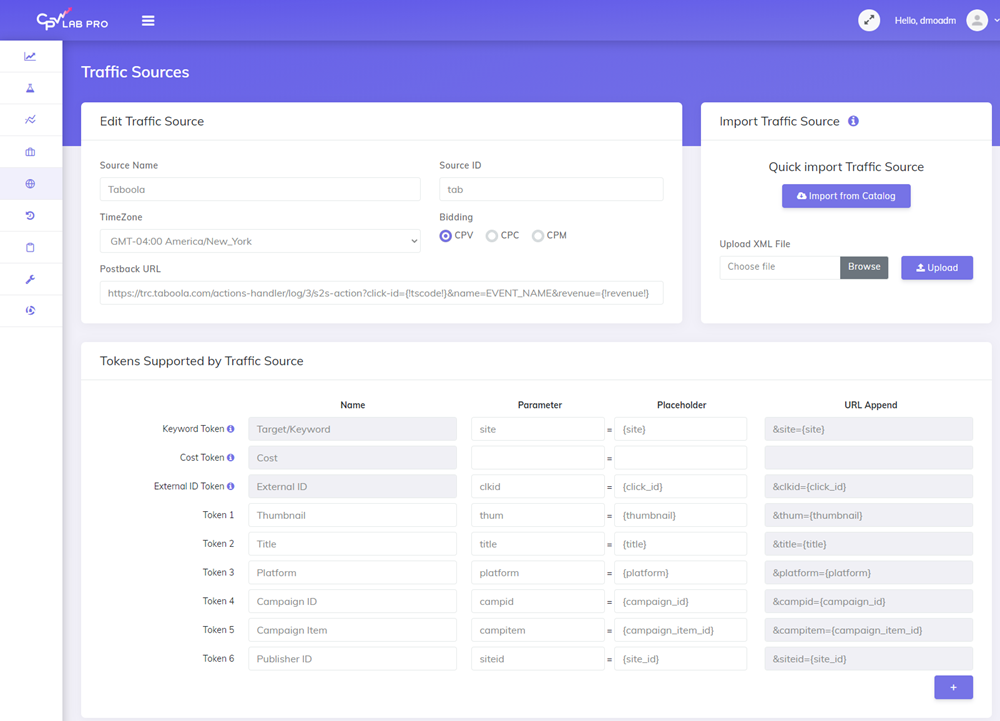
- CPV Lab Pro comes with the Taboola Traffic Source pre-configured in the Traffic Sources Catalog pages, so in this case all you have to do is import it from the Catalog.
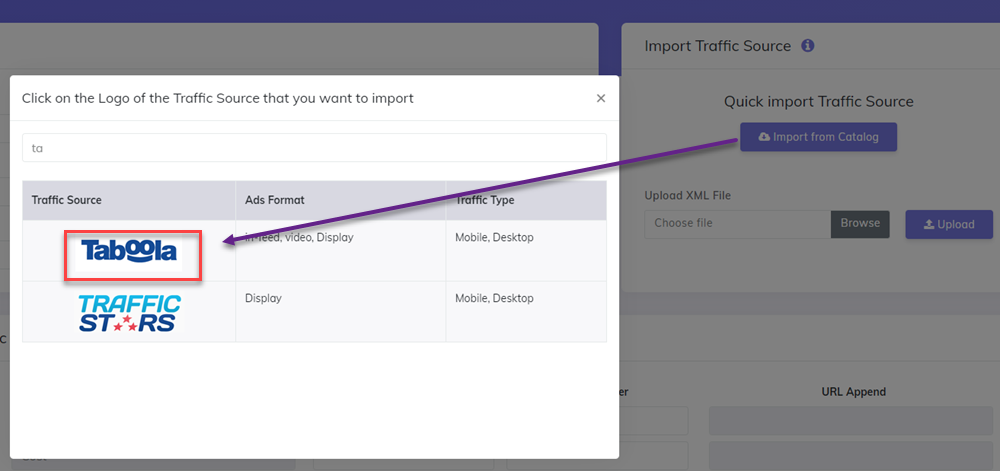
- The detailed configuration for the Taboola Traffic Source is the following:
Step 2: Create a Campaign in CPV Lab Pro
- In your CPV Lab Pro campaign setup page select Taboola as the Traffic Source and choose the Predefined Extra Tokens that you want to capture.
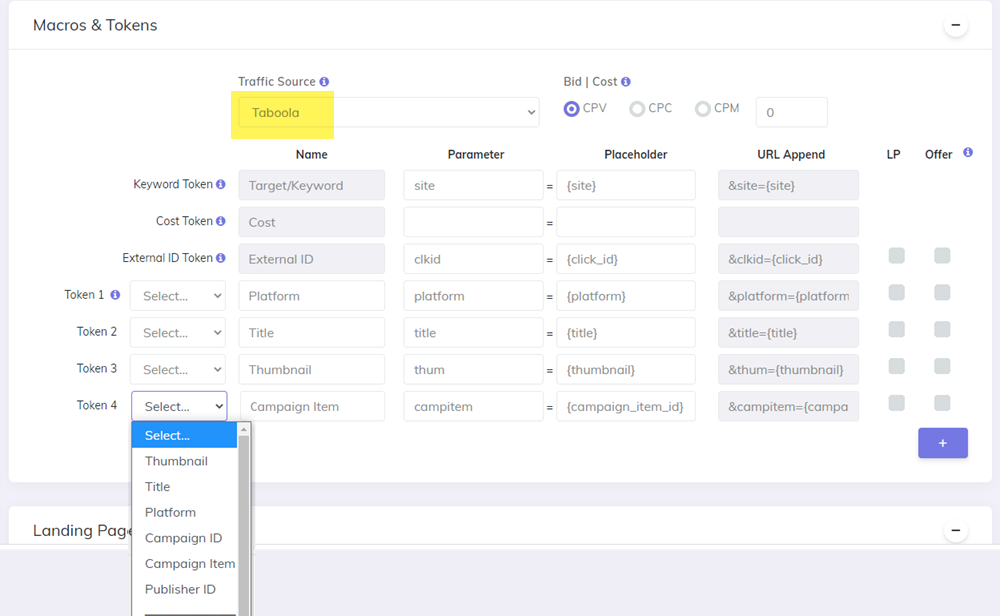
- Save the campaign
Step 3 (optional): Setup the Postback URL
- In order to track conversions into the Taboola platform, you need to setup the Postback URL from Taboola as the Traffic Source Postback URL in the Campaign setup page from CPV Lab Pro.
- The Postback URL should contain the CPV Lab Pro macro
{!tscode!}(for Unique Click ID). - The Traffic Source Postback URL will be automatically filled for the selected Traffic Source in the Campaign Setup page, but you need to select/check it order to have it used (check image below).
![]()
- If the Postback URL is not available (it was not setup or was deleted for this Traffic Source) then you can enter the following Postback URL as Traffic Source Postback URL in the Campaign Setup page from CPV Lab Pro:
TIP
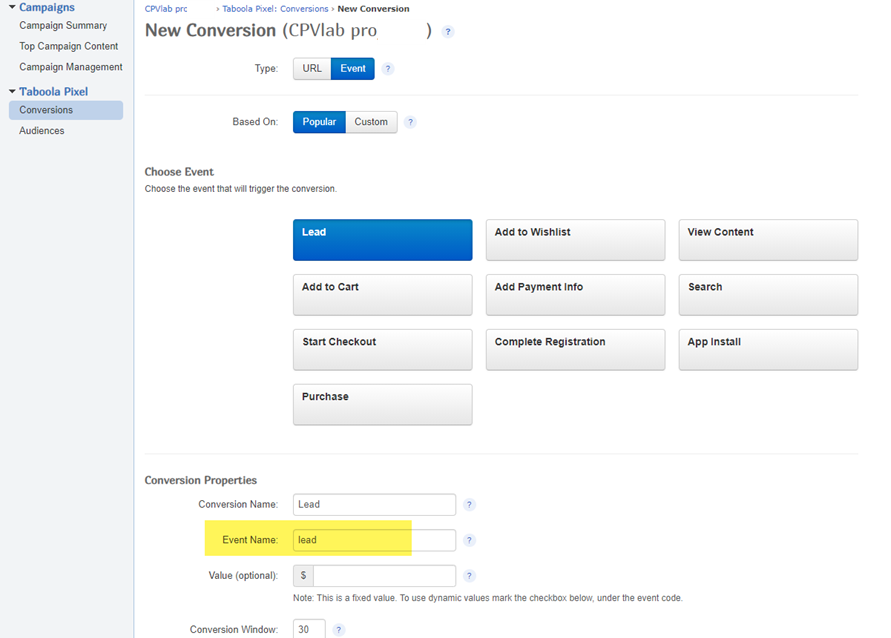
Note: EVENT_NAME - Replace with the corresponding Event Name value in Backstage; Revenue is an optional parameter.
As per the documentation from Taboola here (opens new window) the Event name is defined in the Conversions page.
Step 4: You need a Taboola account
- If you don't have a Taboola account yet, then you need to create one. Here you can find the information about how to create an account with Taboola (opens new window)!
- You can easily sign up and create your first campaign by following the Signup wizard
Step 5: Create the campaign in Taboola
Login to your Taboola account (or follow the Signup wizard mentioned on step 4.)
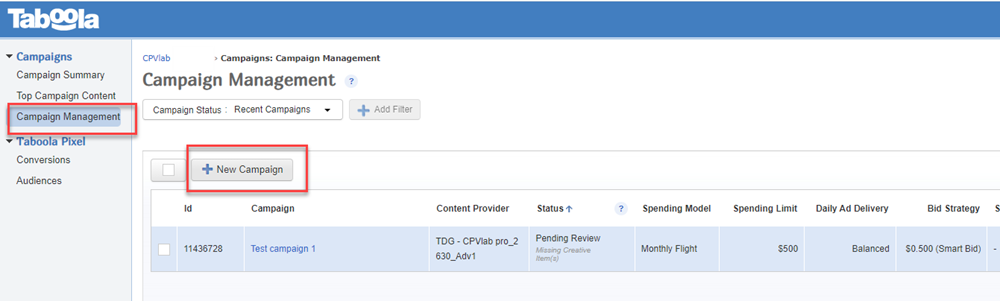
Go to the "Campaign Management" menu and click on "+New Campaign"
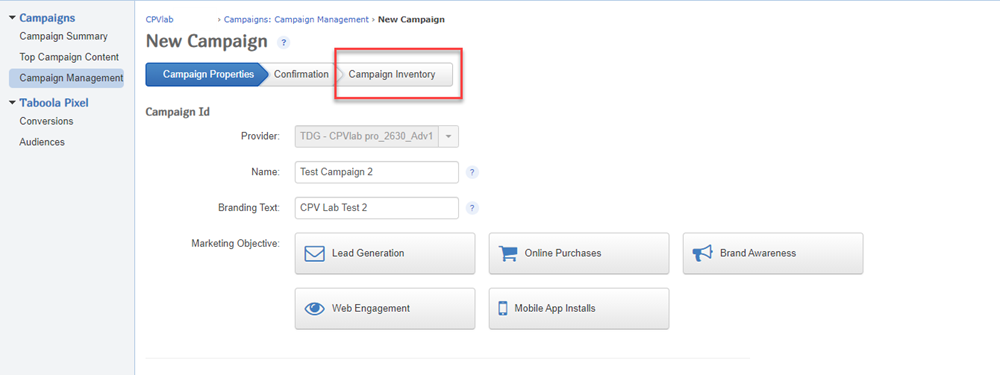
Complete the Name, Branding and the rest of the required fields for the campaign until you get to "Campaign Inventory" section
- In the Campaign Inventory section, paste the Campaign URL from CPV Lab Pro.
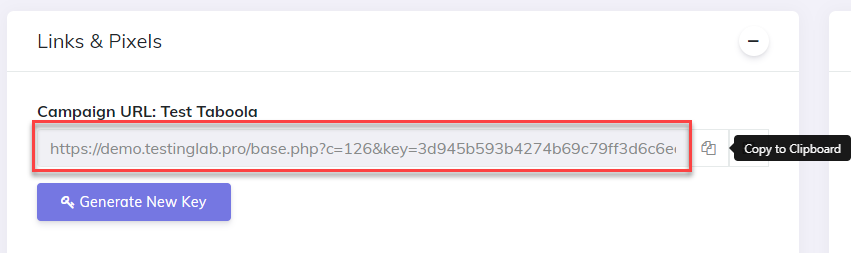
- The Campaign URL (provided in the Links & Pixels section from your Campaign Setup page) has all the parameters you selected as Macros for your campaign. So, the information will be tracked in CPV Lab Pro.
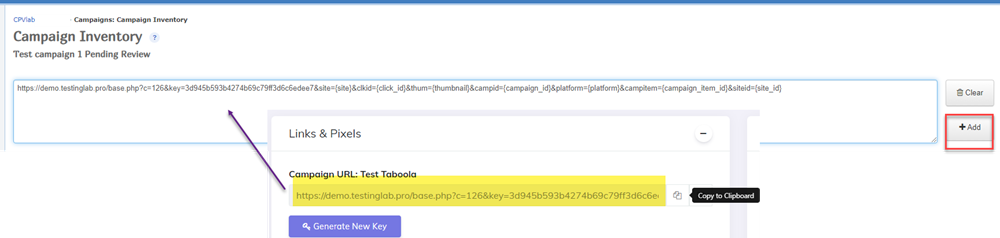
- Taboola will check the Campaign URL from CPV Lab Pro and show a preview of the page. You can edit all the information for your Ad in Taboola (image, title, description,etc)
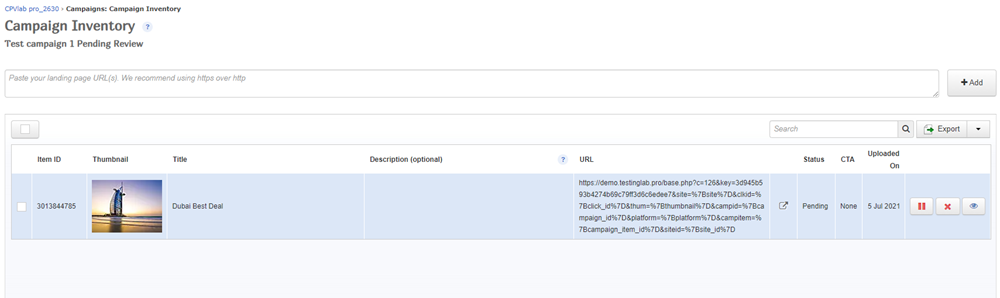
- That's it!
WARNING
Conclusion: You setup your campaign as usual in CPV Lab Pro and afterwards add the campaign URL as your Campaign ADS URL in Taboola Campaign Inventory section.
This will allow CPV Lab to rotate your offers based on your settings from the tracker, instead of sending the traffic to just a landing page.
TIP
Additional info: Here (opens new window) you can find a list with all the campaign fields from Taboola and their explanations.