TrafficStars integration in CPV Lab Pro
Who is TrafficStars?
TrafficStars (opens new window) is leading ad network with exclusive traffic sources. It's the best way to get effective traffic, through a wide range of targeting options and unique features. It comes with:
6 ad formats: Push, Popunder, Banner, Native, Video and Interstitial.
CPM, CPC and CPA pricing models
In case you work with Adult, Nutra, Video content, Mobile utilities - it’s a must have!
If you don't have a TrafficStars account yet, then you need to register here (opens new window)!
Sign up now and contact our support manager to get a bonus: +$50 on your first deposit or +10% on the deposit over $500.
Step 1: Setup TrafficStars in CPV Lab
- CPV Lab Pro comes with the TrafficStars Traffic Source pre-configured in the Traffic Sources Catalog pages, so in this case all you have to do is import it from the Catalog.
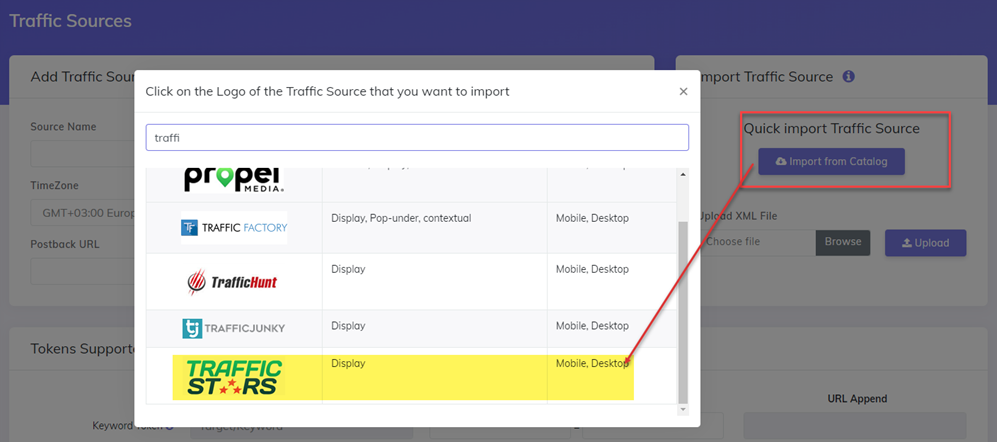
- The detailed configuration for the TrafficStars Traffic Source is the following:
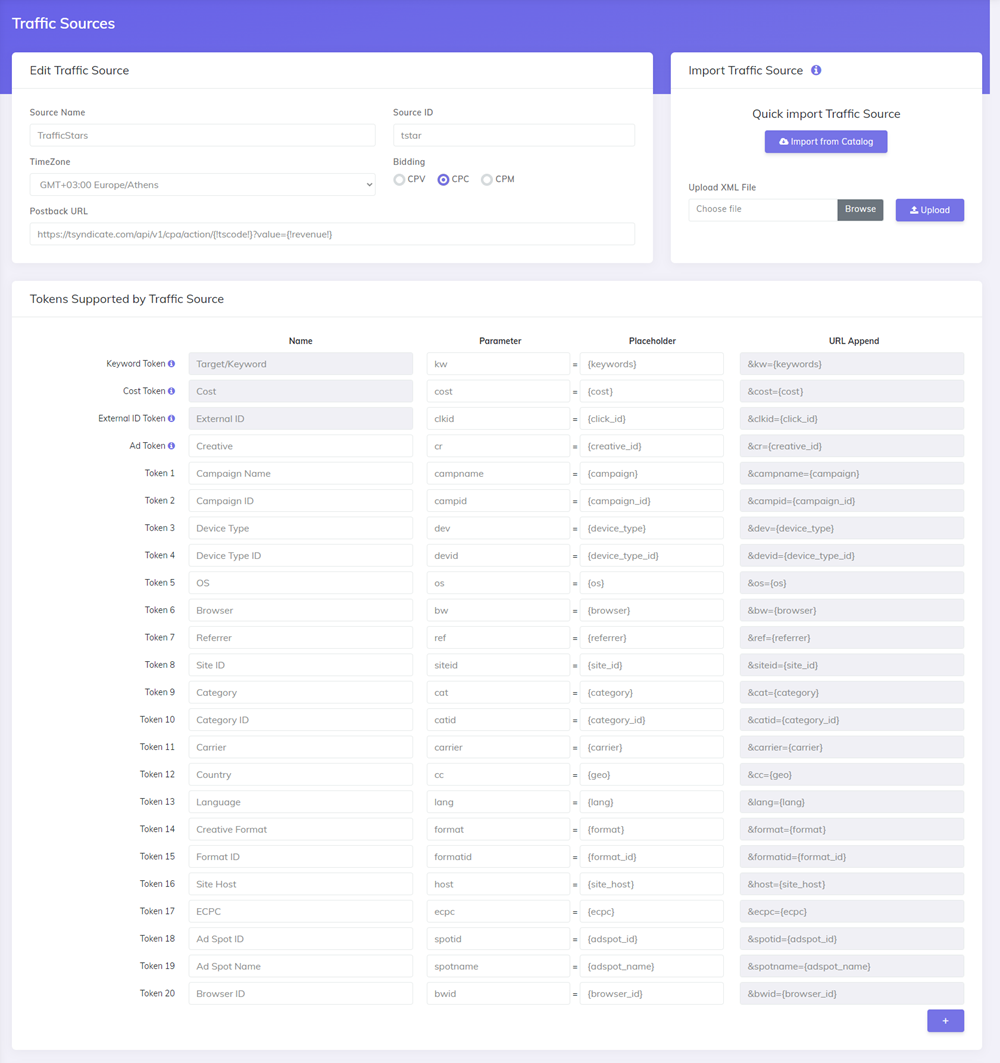
Once you import the traffic source from the catalog, it will show up when you create your campaign on the Campaign setup page.
To be able to keep your tracker and your Traffic Source reports in sync, you need to send data back to your traffic source. For that you have to have the Postback URL field setup correctly.
Once you have the Traffic Source setup you can start creating your campaign
Step 2: Create a Campaign in CPV Lab Pro
- In your CPV Lab Pro campaign setup page select TrafficStars as the Traffic Source and choose the Predefined Extra Tokens that you want to capture.
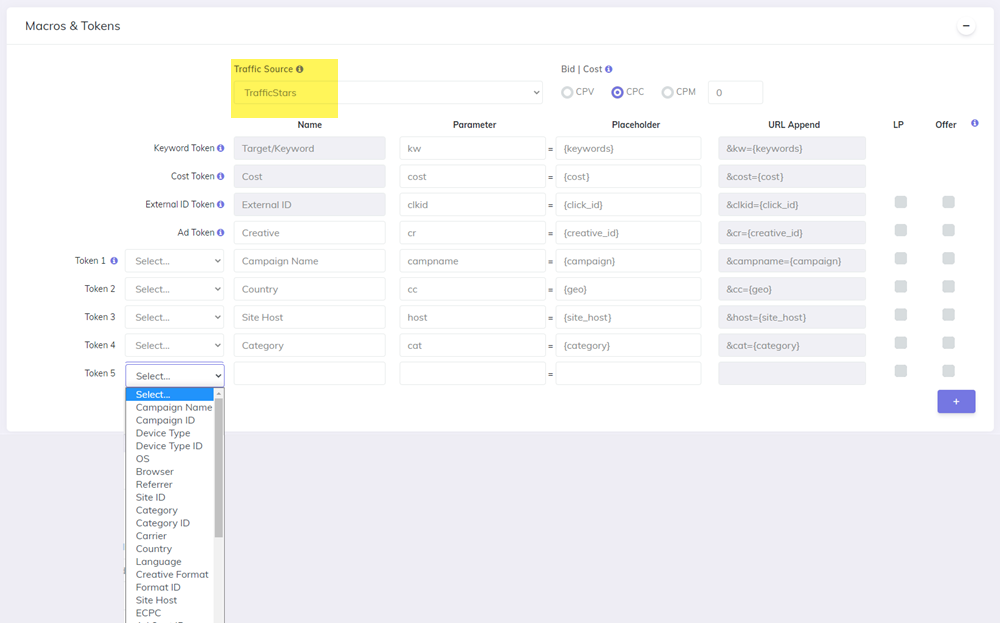
- Complete the other fields
- Save the campaign
- Optional: check the Traffic Source Postback URL - check the step 5 below for details
Step 3: Create the campaign in TrafficStars
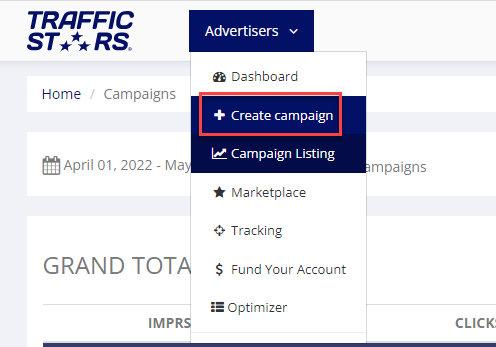
- Login to your TrafficStars account
- Create a new campaign by clicking the "Create Campaign" button or from the top menu
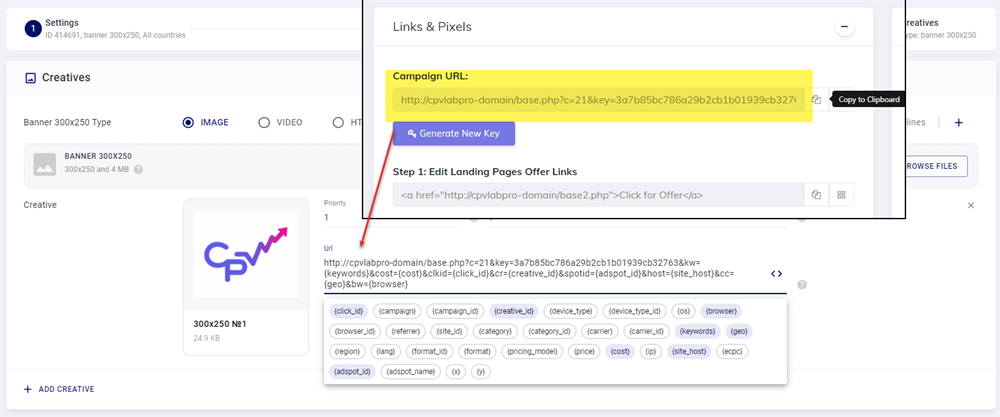
- Complete all the fields until you get to "Creatives Section".
- Copy the Campaign URL from your campaign in CPV Lab Pro (step 2 above) and paste it as a Landing URL in TrafficStars.
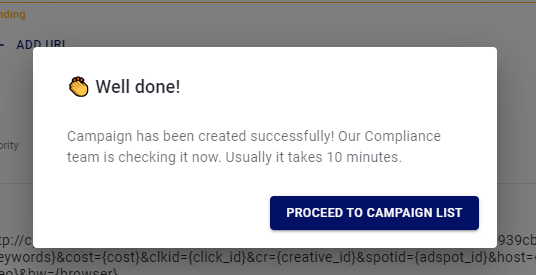
- Finish the campaign by filling all the other fields and clicking "Publish".
Step 4: Start the campaign in TrafficStars
- In TrafficStars platform, by default, after it is created, the campaign is sent to verification. Wait until you get the ok to start the campaign
- Start your campaign and follow the results in CPV Lab Pro!
Step 5 (optional): Setup the Postback URL
- In order to track conversions back into the TrafficStars platform, you need to CHECK the Traffic Source Postback URL in your tracker.
- The Postback URL should contain the CPV Lab Pro macro
{!tscode!}(for Unique Click ID). - The Traffic Source Postback URL will be automatically filled for the selected Traffic Source in the Campaign setup page, but you need to select/check it in order to have it used (check image below).
- It is located in the "Tracking Pixel" section from your campaign page.
- The Postback URL should contain the CPV Lab Pro macro
![]()
- The postback URL is in the following format:
https://tsyndicate.com/api/v1/cpa/action/{!tscode!}?value={!revenue!}