Snapchat integration in CPV Lab
Who is Snapchat?
Snapchat (opens new window) is a popular social media platform that allows users to send and receive temporary photos and videos known as "Snaps." This guide will assist you in understanding the process of monitoring your Snapchat Ads using CPV Lab ad tracking platform.
Tracking Traffic from Snapchat
- Snapchat offers two tracking methods: direct and redirect.
- You can choose the method that suits your preferences.
- When it comes to conversion tracking, Snapchat exclusively supports its own conversion pixel, which is a JavaScript code block.
- This means that you cannot pass conversion information from CPV Lab to Snapchat directly.
- To track conversions, you need to separately implement the Snapchat pixel on your "Thank You" page and set up conversion tracking independently on both CPV Lab (opens new window) and Snapchat platforms.
Step 1: Add Snapchat as a traffic source in CPVLab
CPV Lab comes with the Snapchat Traffic Source pre-configured in the Traffic Sources Catalog pages, so in this case all you have to do is import it from the Catalog.
- Access your CPV Lab account
- Navigate to the "Sources" tab and locate the option for "Traffic Sources"
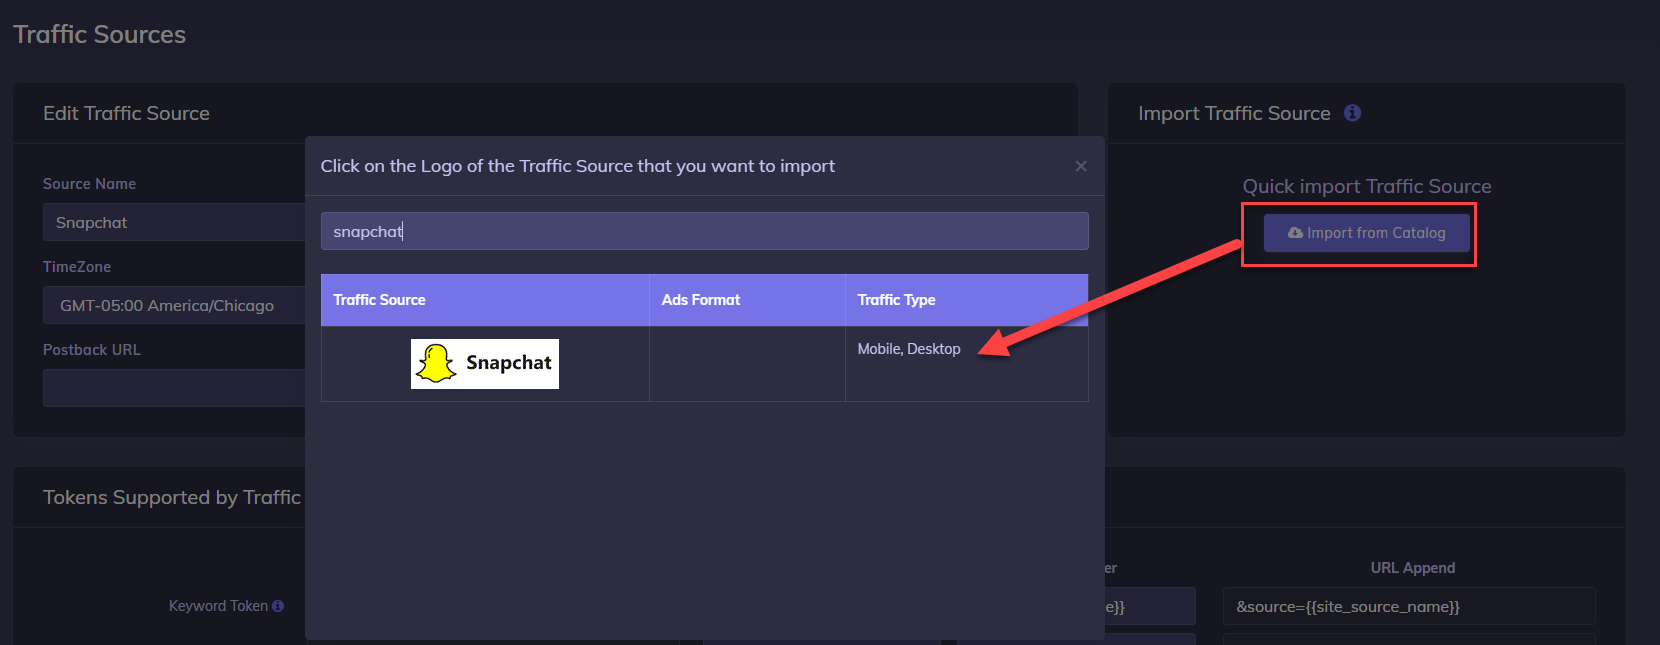
- Click on the "Import from Catalog" button
- Select Snapchat
- CPV Lab will pre-populate all the traffic source settings.
- The detailed configuration for the Push House Traffic Source is the following:
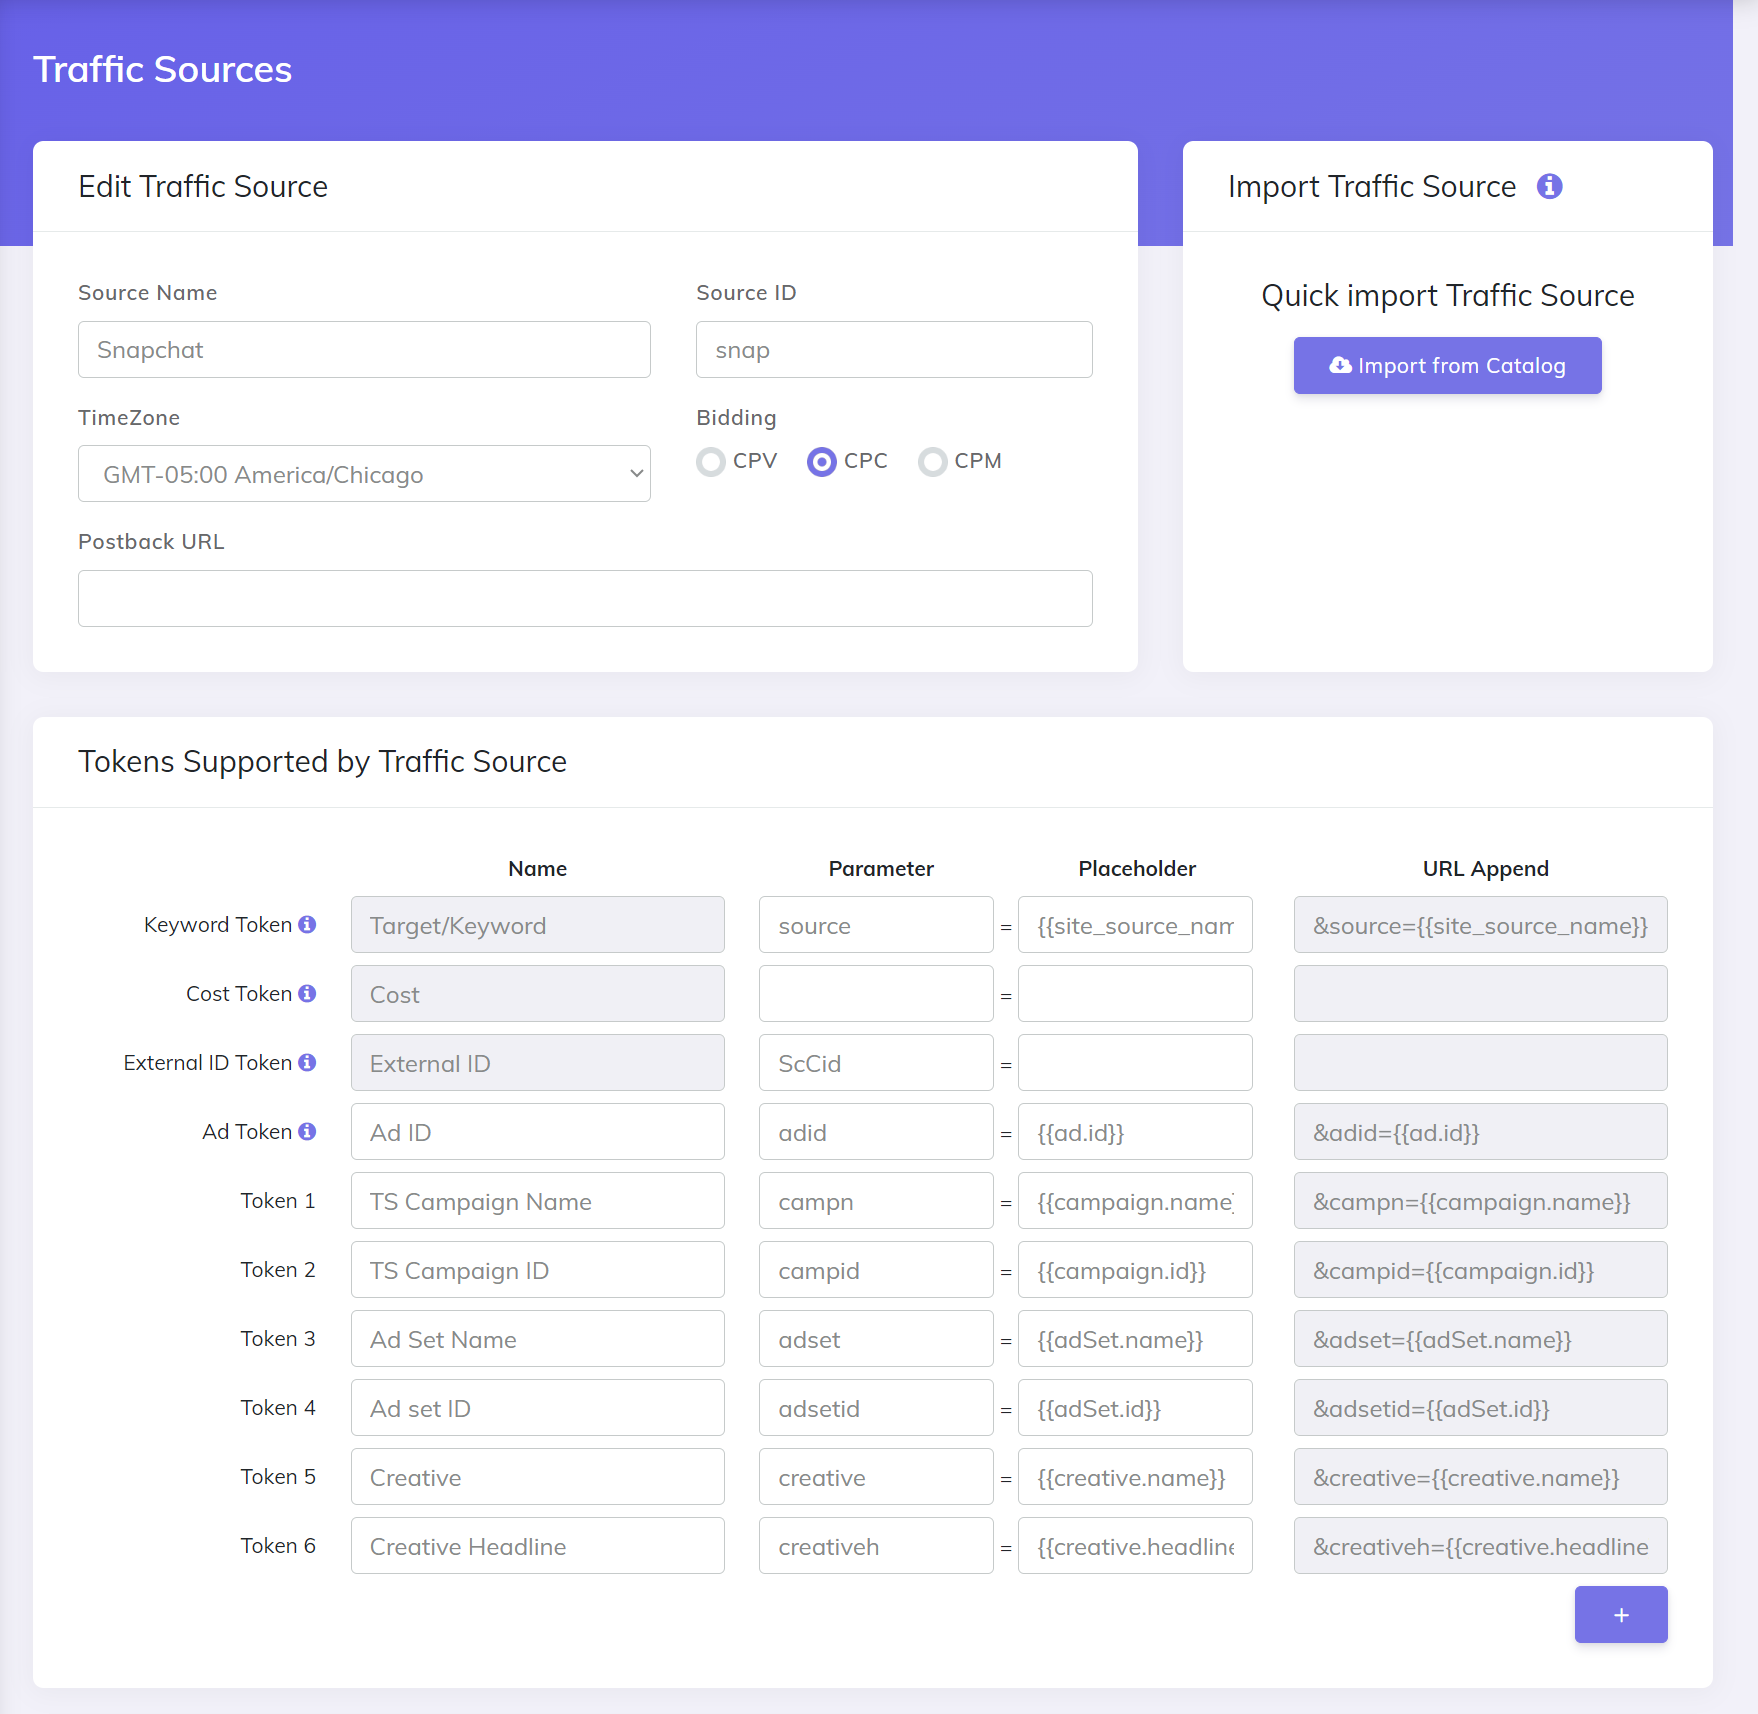
Once you import the traffic source from the catalog, it will show up when you create your campaign on the Campaign setup page.
Once you have the Traffic Source setup you can start creating your campaign
Step 2: Set up your campaign in CPV Lab
- To start your campaign, click on the top blue button that says: "New Campaign".
- You will encounter a menu providing options for creating a campaign based on your preferences.
- Alternatively, you can navigate to the Campaigns List and select your desired campaign from there and edit or clone one of them.

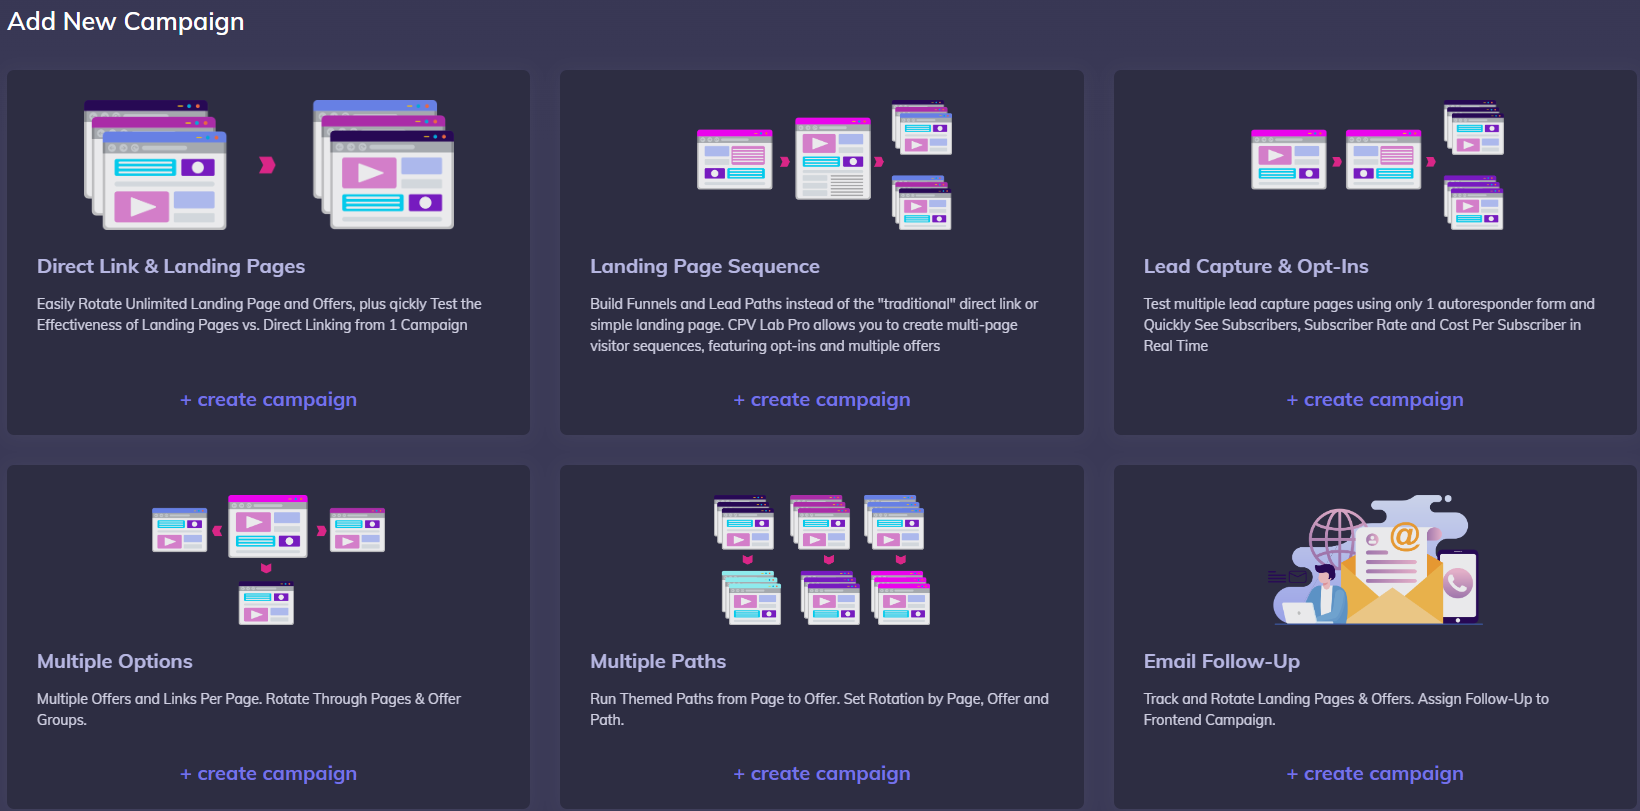
- In this tutorial, we will be employing a "Direct Link & Landing Page" configuration. Begin by assigning a "Name" to the campaign, and then proceed to scroll down to the section labeled "Macros & Tokens."
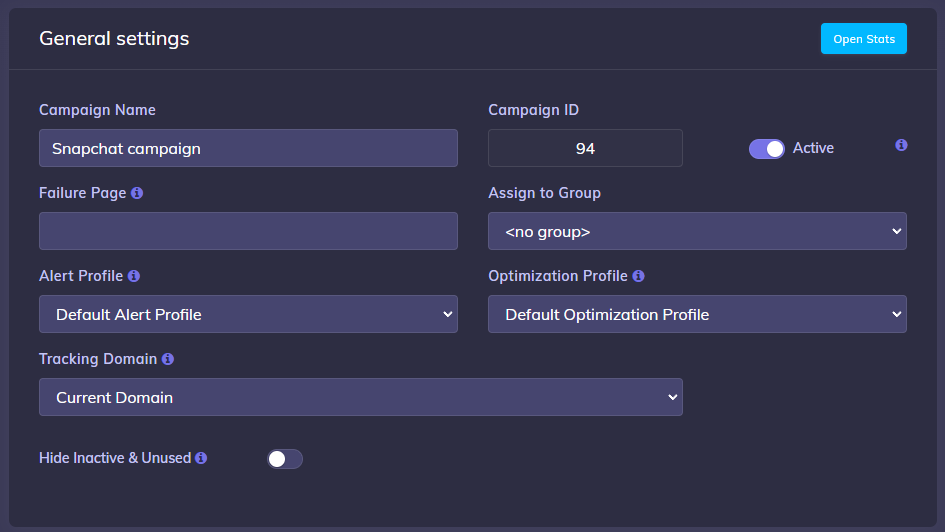
- Choose Push House as the designated Traffic Source for this campaign.

Keep scrolling down the page. If you use a Landing Page, you can input it at this stage.
Under the "Offers" section, click on "Select Predefined Offer" and choose the Offer you previously created at Step 3 above. The remaining parameters will be automatically populated based on the settings defined for the selected Offer.

- Save the Campaign.
Step 3: Set up your campaign on Snapchat
- Within Snapchat, access the Snap Ads Manager section.
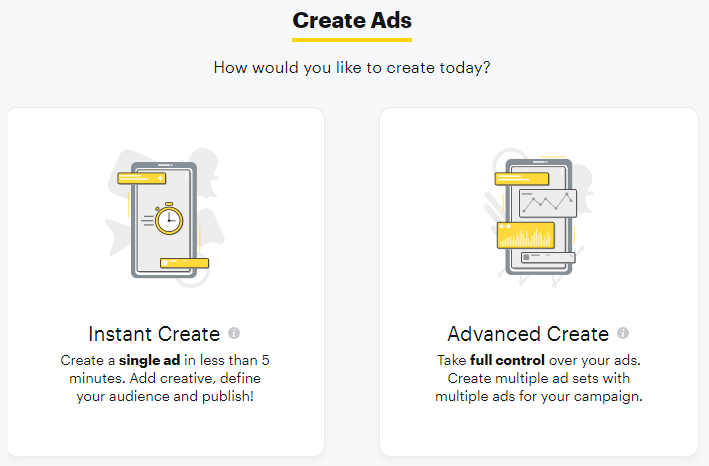
- Choose your preferred method for creating a campaign. The subsequent instructions will focus on the "Instant Create" option.
- Select your advertising goal.

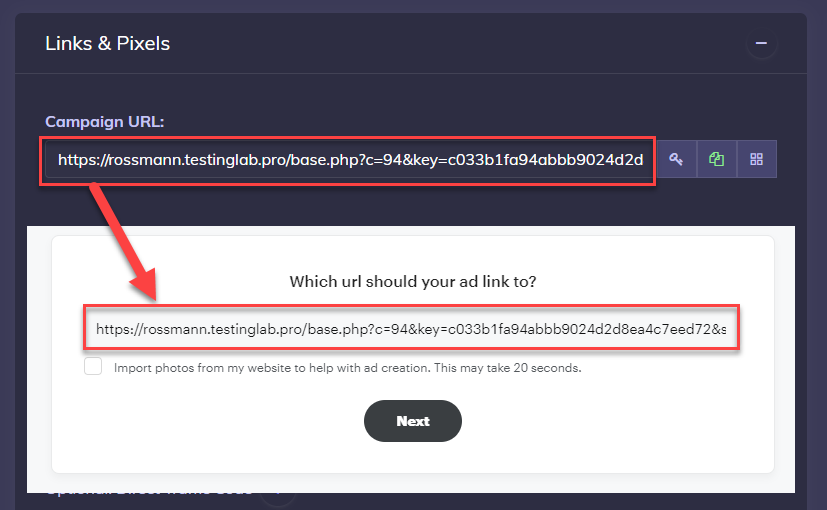
- Copy the Campaign URL from your CPV Lab campaign. The campaign URL will be in “Links & Pixels” section.
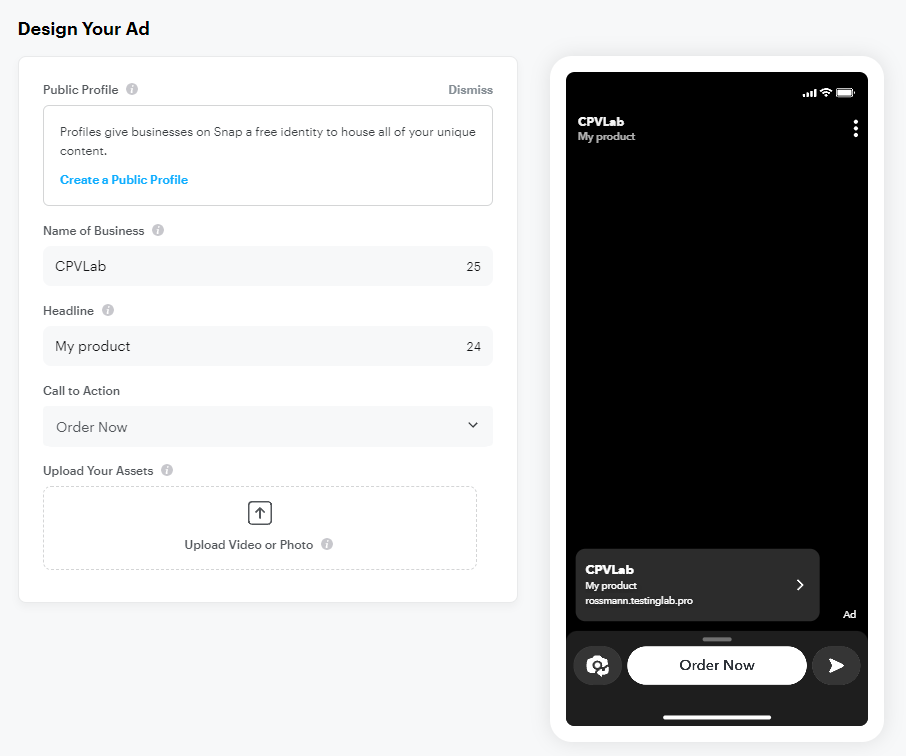
- Upload your creative content and provide a product description, including a Call-to-Action and an optional caption. Once completed, proceed by clicking the Next button.
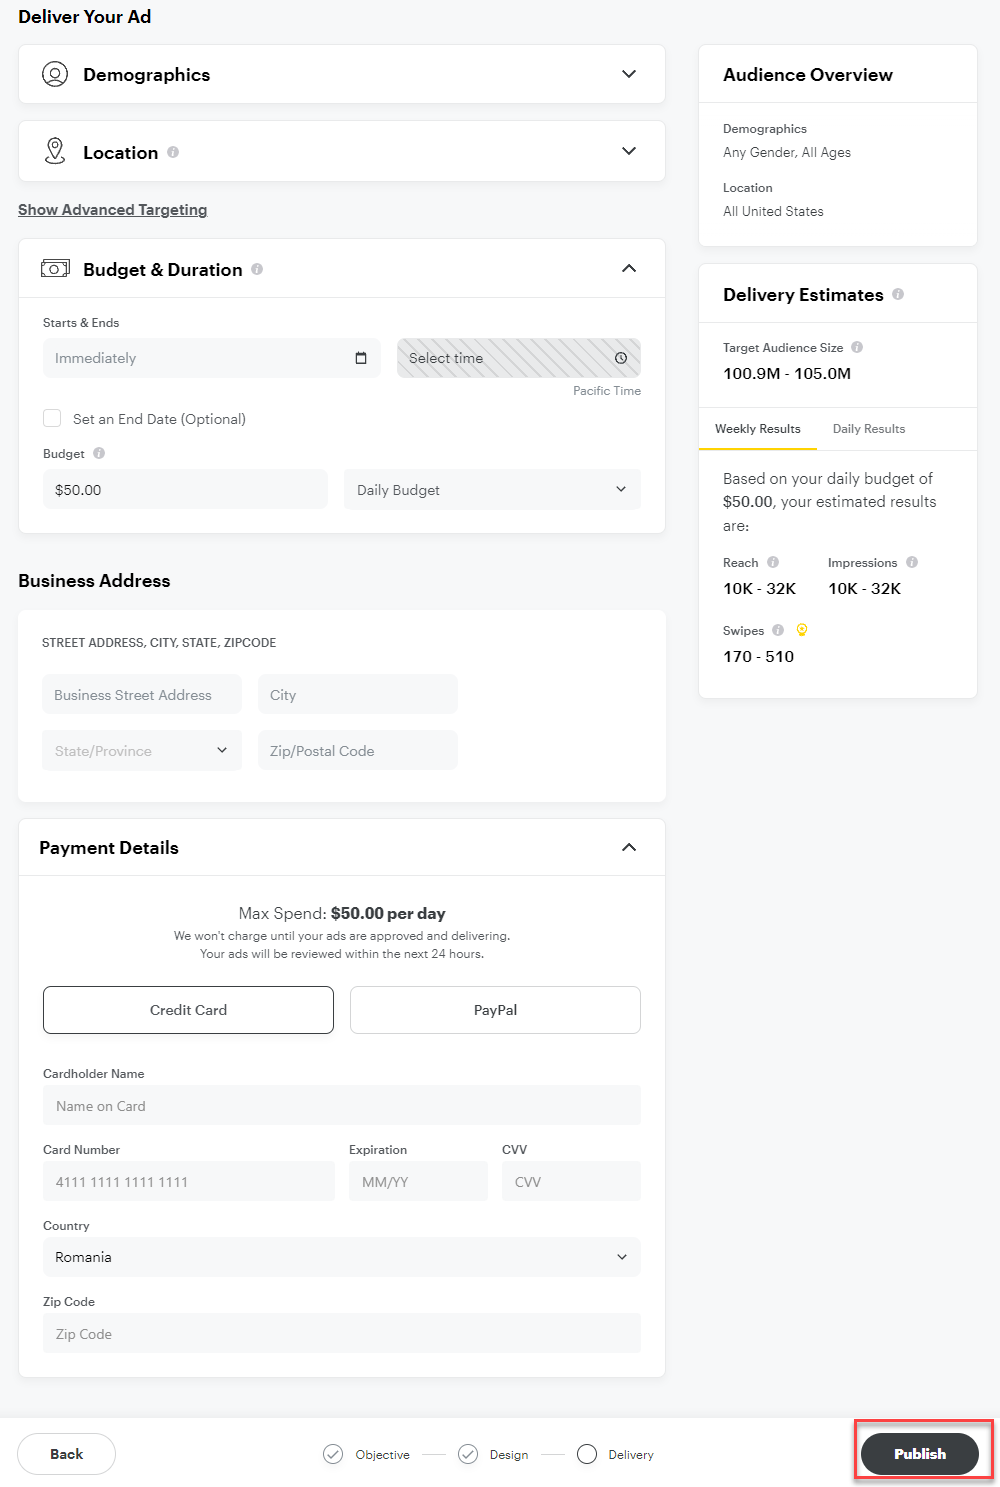
- Configure your traffic targeting and budget preferences, and specify a payment method. When you have completed these settings, click the Publish button to finalize your campaign.
If the setup has been done correctly, you will start seeing traffic information in CPV Lab.
